
Hands down one of my favorite guilty pleasures are watching home renovation shows. You know the ones- where the couple supposedly has a $500 budget and manages to transform their outdated 60s bathroom into something out of Architectural digest — all with a can of paint and a lot of determination.
I love watching these but certainly never imagined I’d actually DO any renovations. Enter the pandemic where suddenly everyone is baking bread and channeling their inner Joanna Gaines.
I thought today I’d share one of the first projects we underwent in our new house.
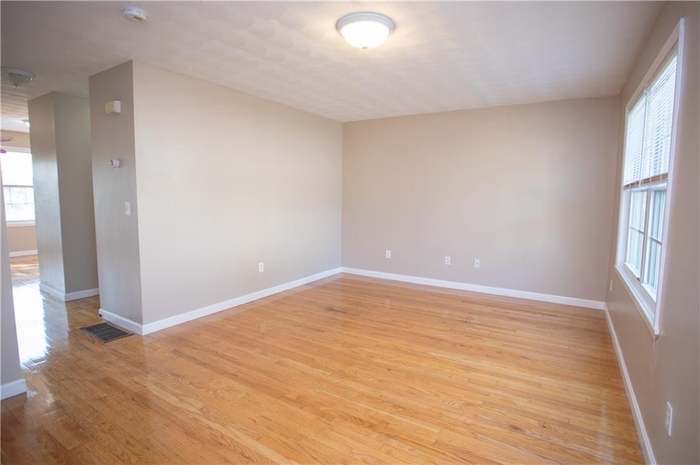
One of the first projects we tackled was painting the walls of our beautiful, though very construction grade, new apartment. When you first walking into the living room, you’d be greeted with beautiful hardwoods, large windows, and this very ….special? brown color. In the daylight it looked…fine. But at night, those underlying dirt tones really picked up. Not the cutest.
So we went and picked up every shade of gray paint within a 10 mile radius and started swatching. (I still have a bit of PTSD two years later…) We ended up picking a simple Repose Gray. It had the perfect balance of gray with very very subtle blue green, not brown, undertones.
Then came the task of painting.
Since we will one day be renting out this unit, G and I knew we put a little bit more effort than just tossing some paint on the wall. (Which I obviously considered). So we turned to YouTube. We found the amazing video HomeRenoVision’s: A-Z Painting Guide. Jeff is a general contractor with 25 years experience doing EVERYTHING. He is the Bob Ross of the Contracting World. I willingly watched a 40 minute video on painting TWICE because it’s both informational and he has such a soothing persona. I will save you some time and summarize his video by saying that the key to painting is PREP, PREP, PREP.
And for us, that meant removing 15 years worth of anchor scrolls, weird patch jobs, and other odd things that comes with buying a rental unit. Using our very handy, 8 in 1 tool, we started digging, and digging, and extracting, and then after about two panic attacks about WHAT THE HELL we just did, we snapped our very first “in progress” photo.
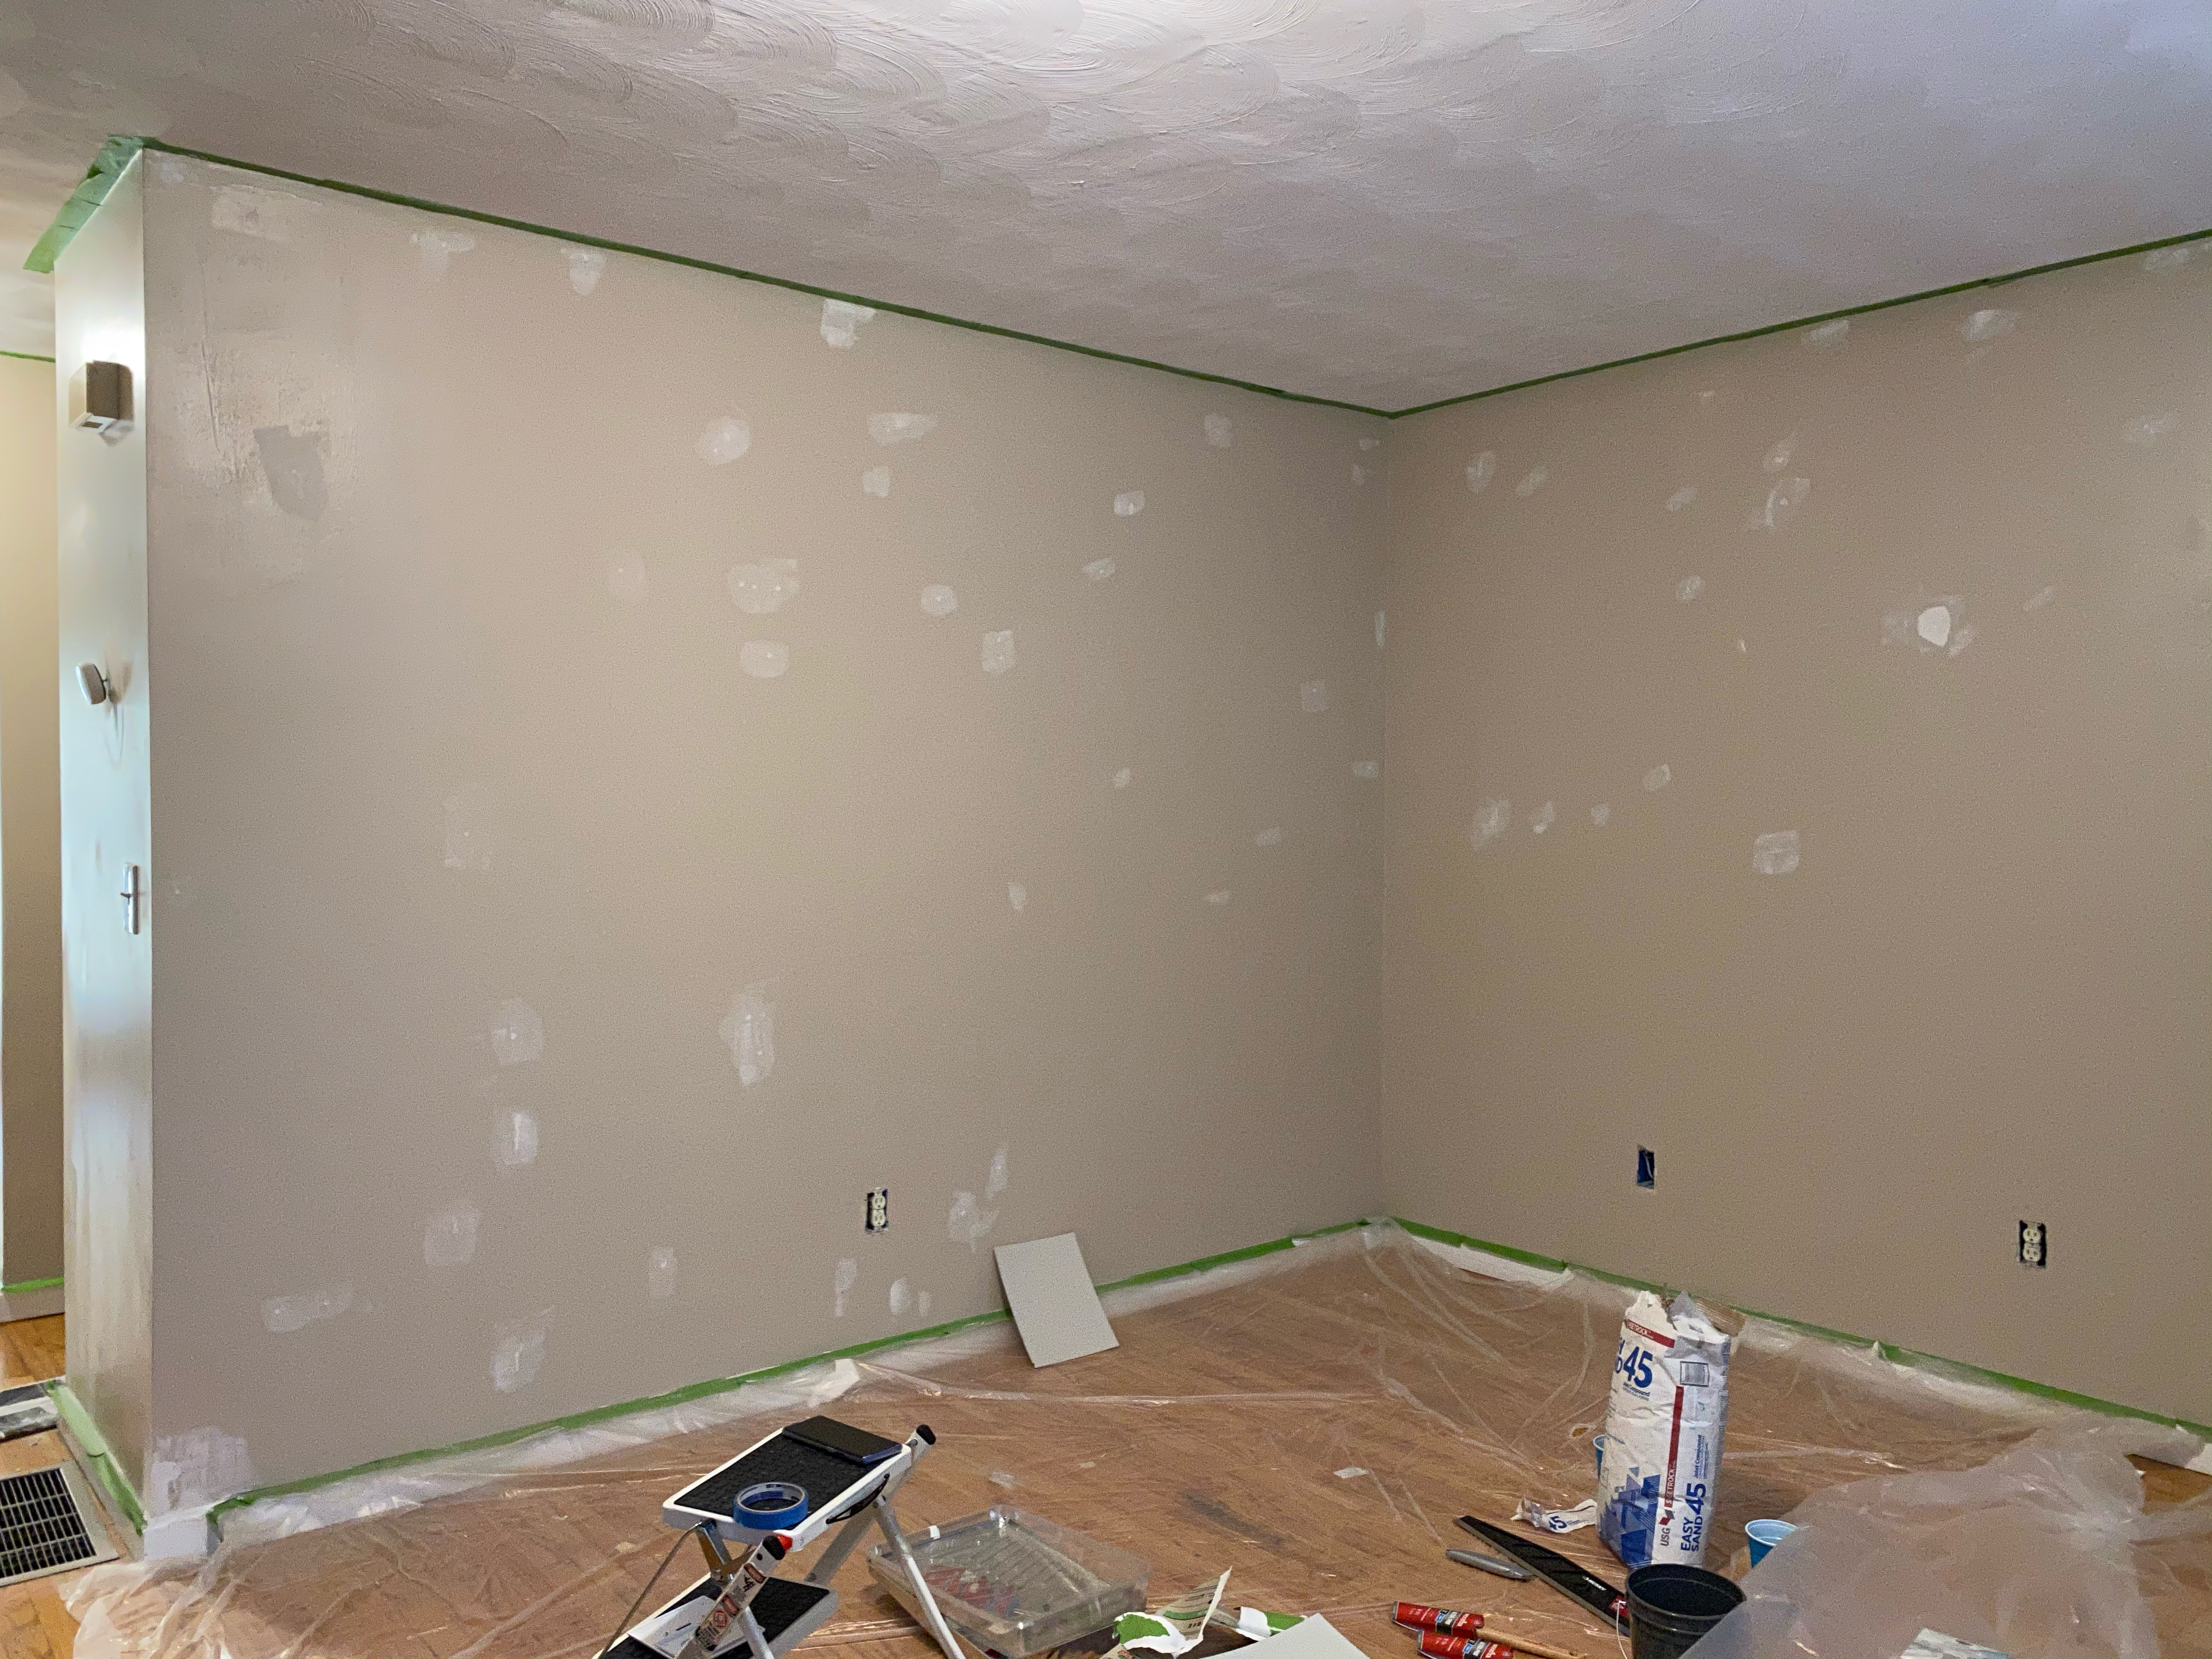
Yup. I really wondered if the dirt brown bothered me that much. But just as quickly as we dug the holes, we mixed some Sheetrock 45 — a drywall compound for you Reno-newbs — and started patching the holes. And then it was onto the painting. (After we removed all the plates and fixtures, of course). Though my imaginary BFF Jeff explained how to paint without tape, G and I decided we were not ready for that particular challenge. We taped, we sanded and got ready for our first coat of paint.
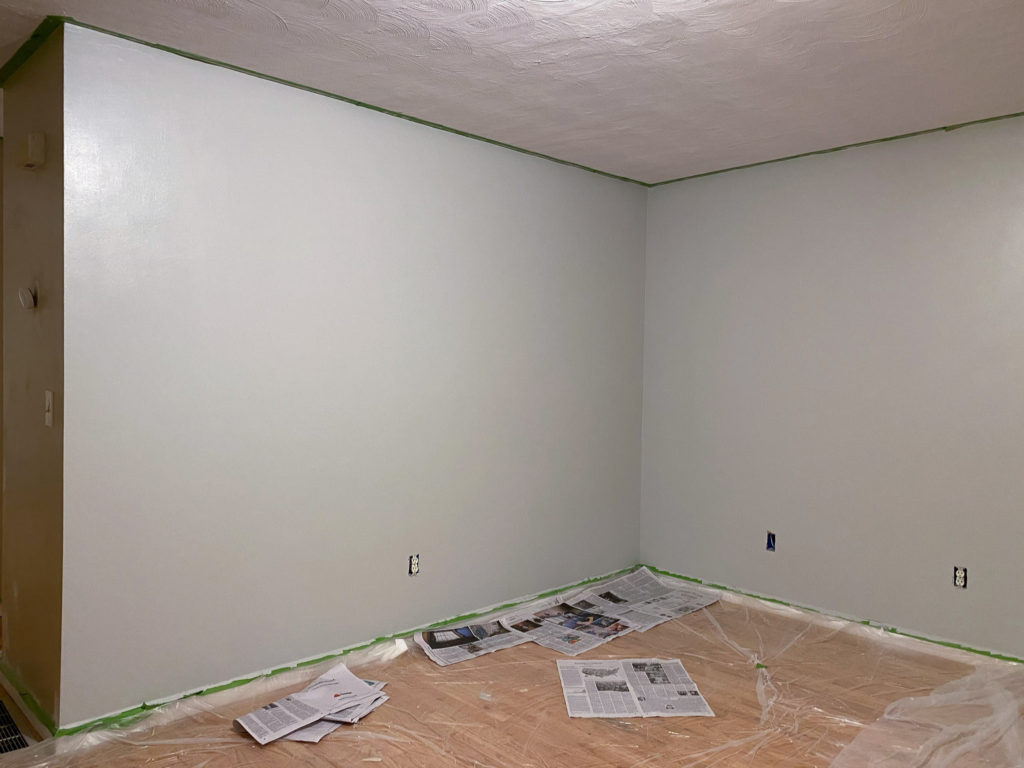
And boy, did it look amazing. I’m honestly not sure if we needed that second coat. I honestly can’t tell the difference. But Jeff said two coats, so we repeated the sanding & painting process and were left with:
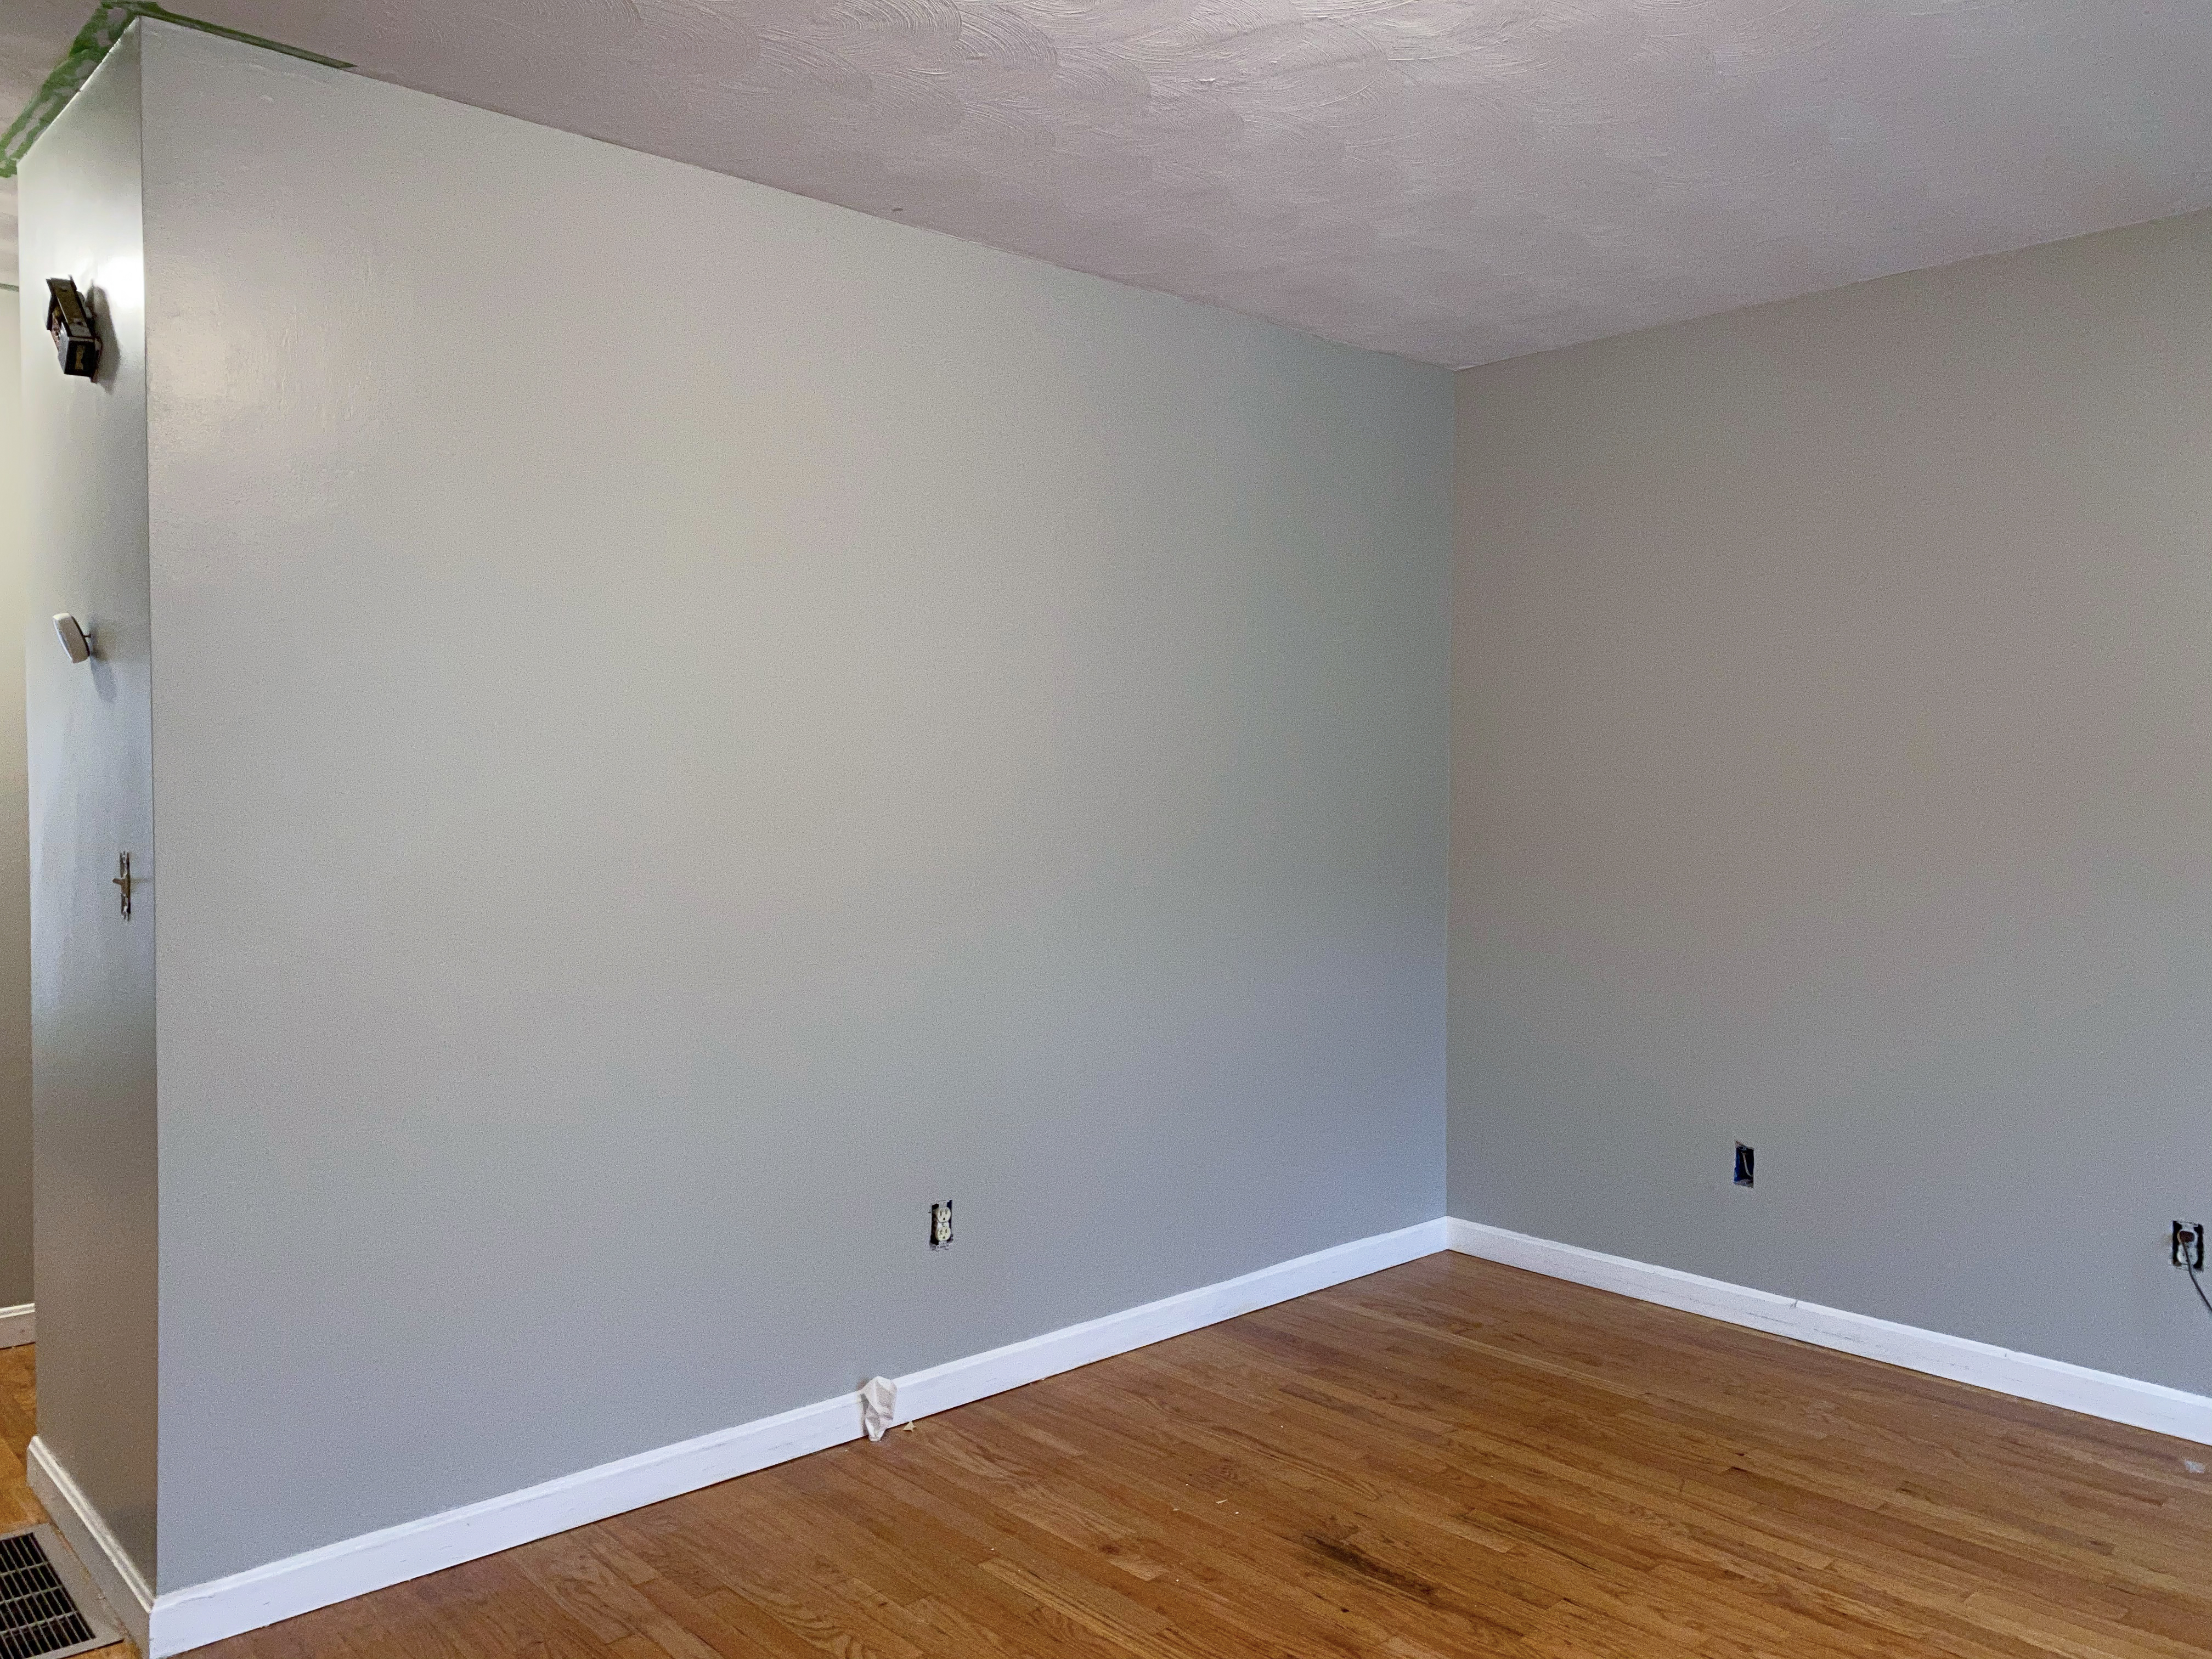
This beautiful clean wall. Like ERMGOD.
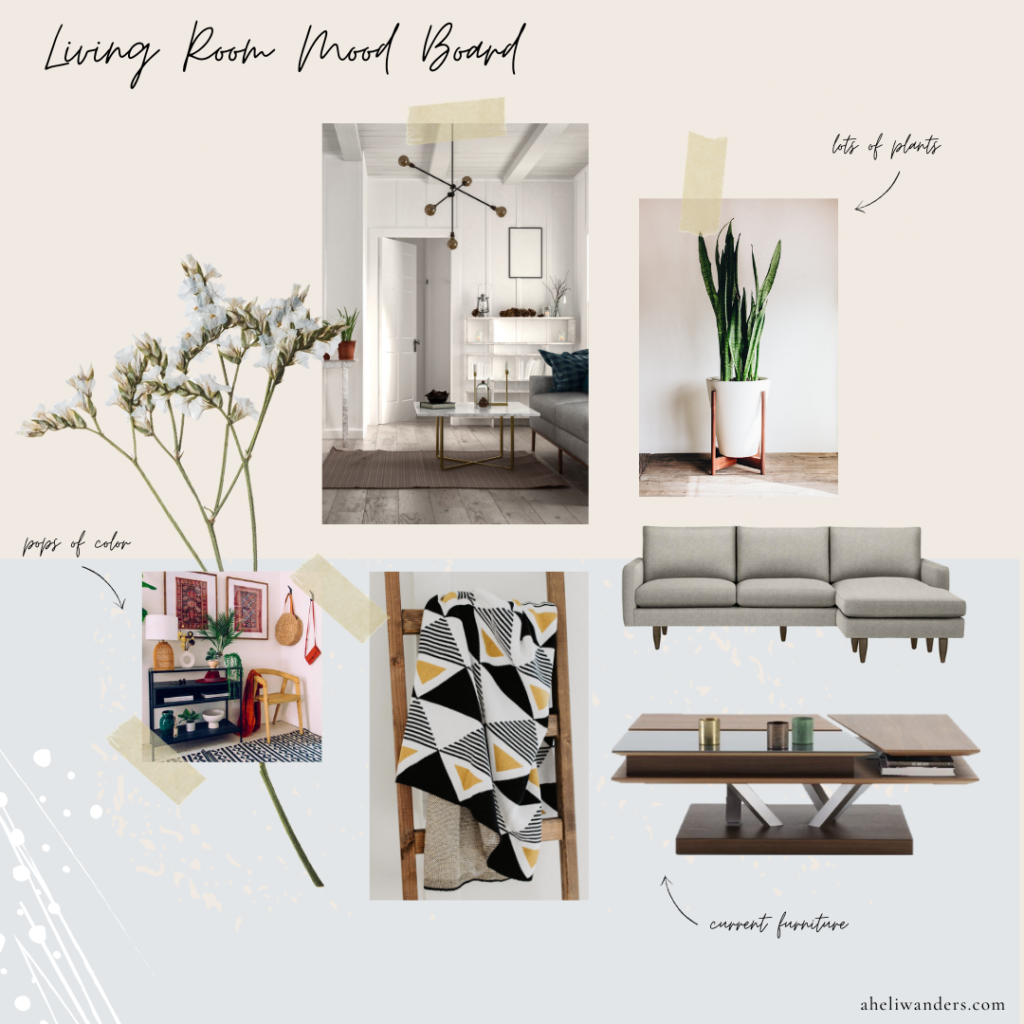
The Design
I know, this isn’t a very dramatic before and after. The walls were really and truly fine — though the Satin paint type really highlighted all the previous patch jobs that offended our OCD personality. Since we have managed to put in some furniture, I thought I’d start sharing my favorite part of buying a house– the decorating. Our basic design plan for our home is “modern hygge”– simple, clean and cozy. Slightly Scandinavian, Slightly Modern. Since we choose a cooler gray as our base color throughout the whole house, and wanted to use a lot of gold, wood, black and plant-green accents to contrast. Our plan is to let our art work and travel knick knacks are splashes of warmth and personality throughout the place.
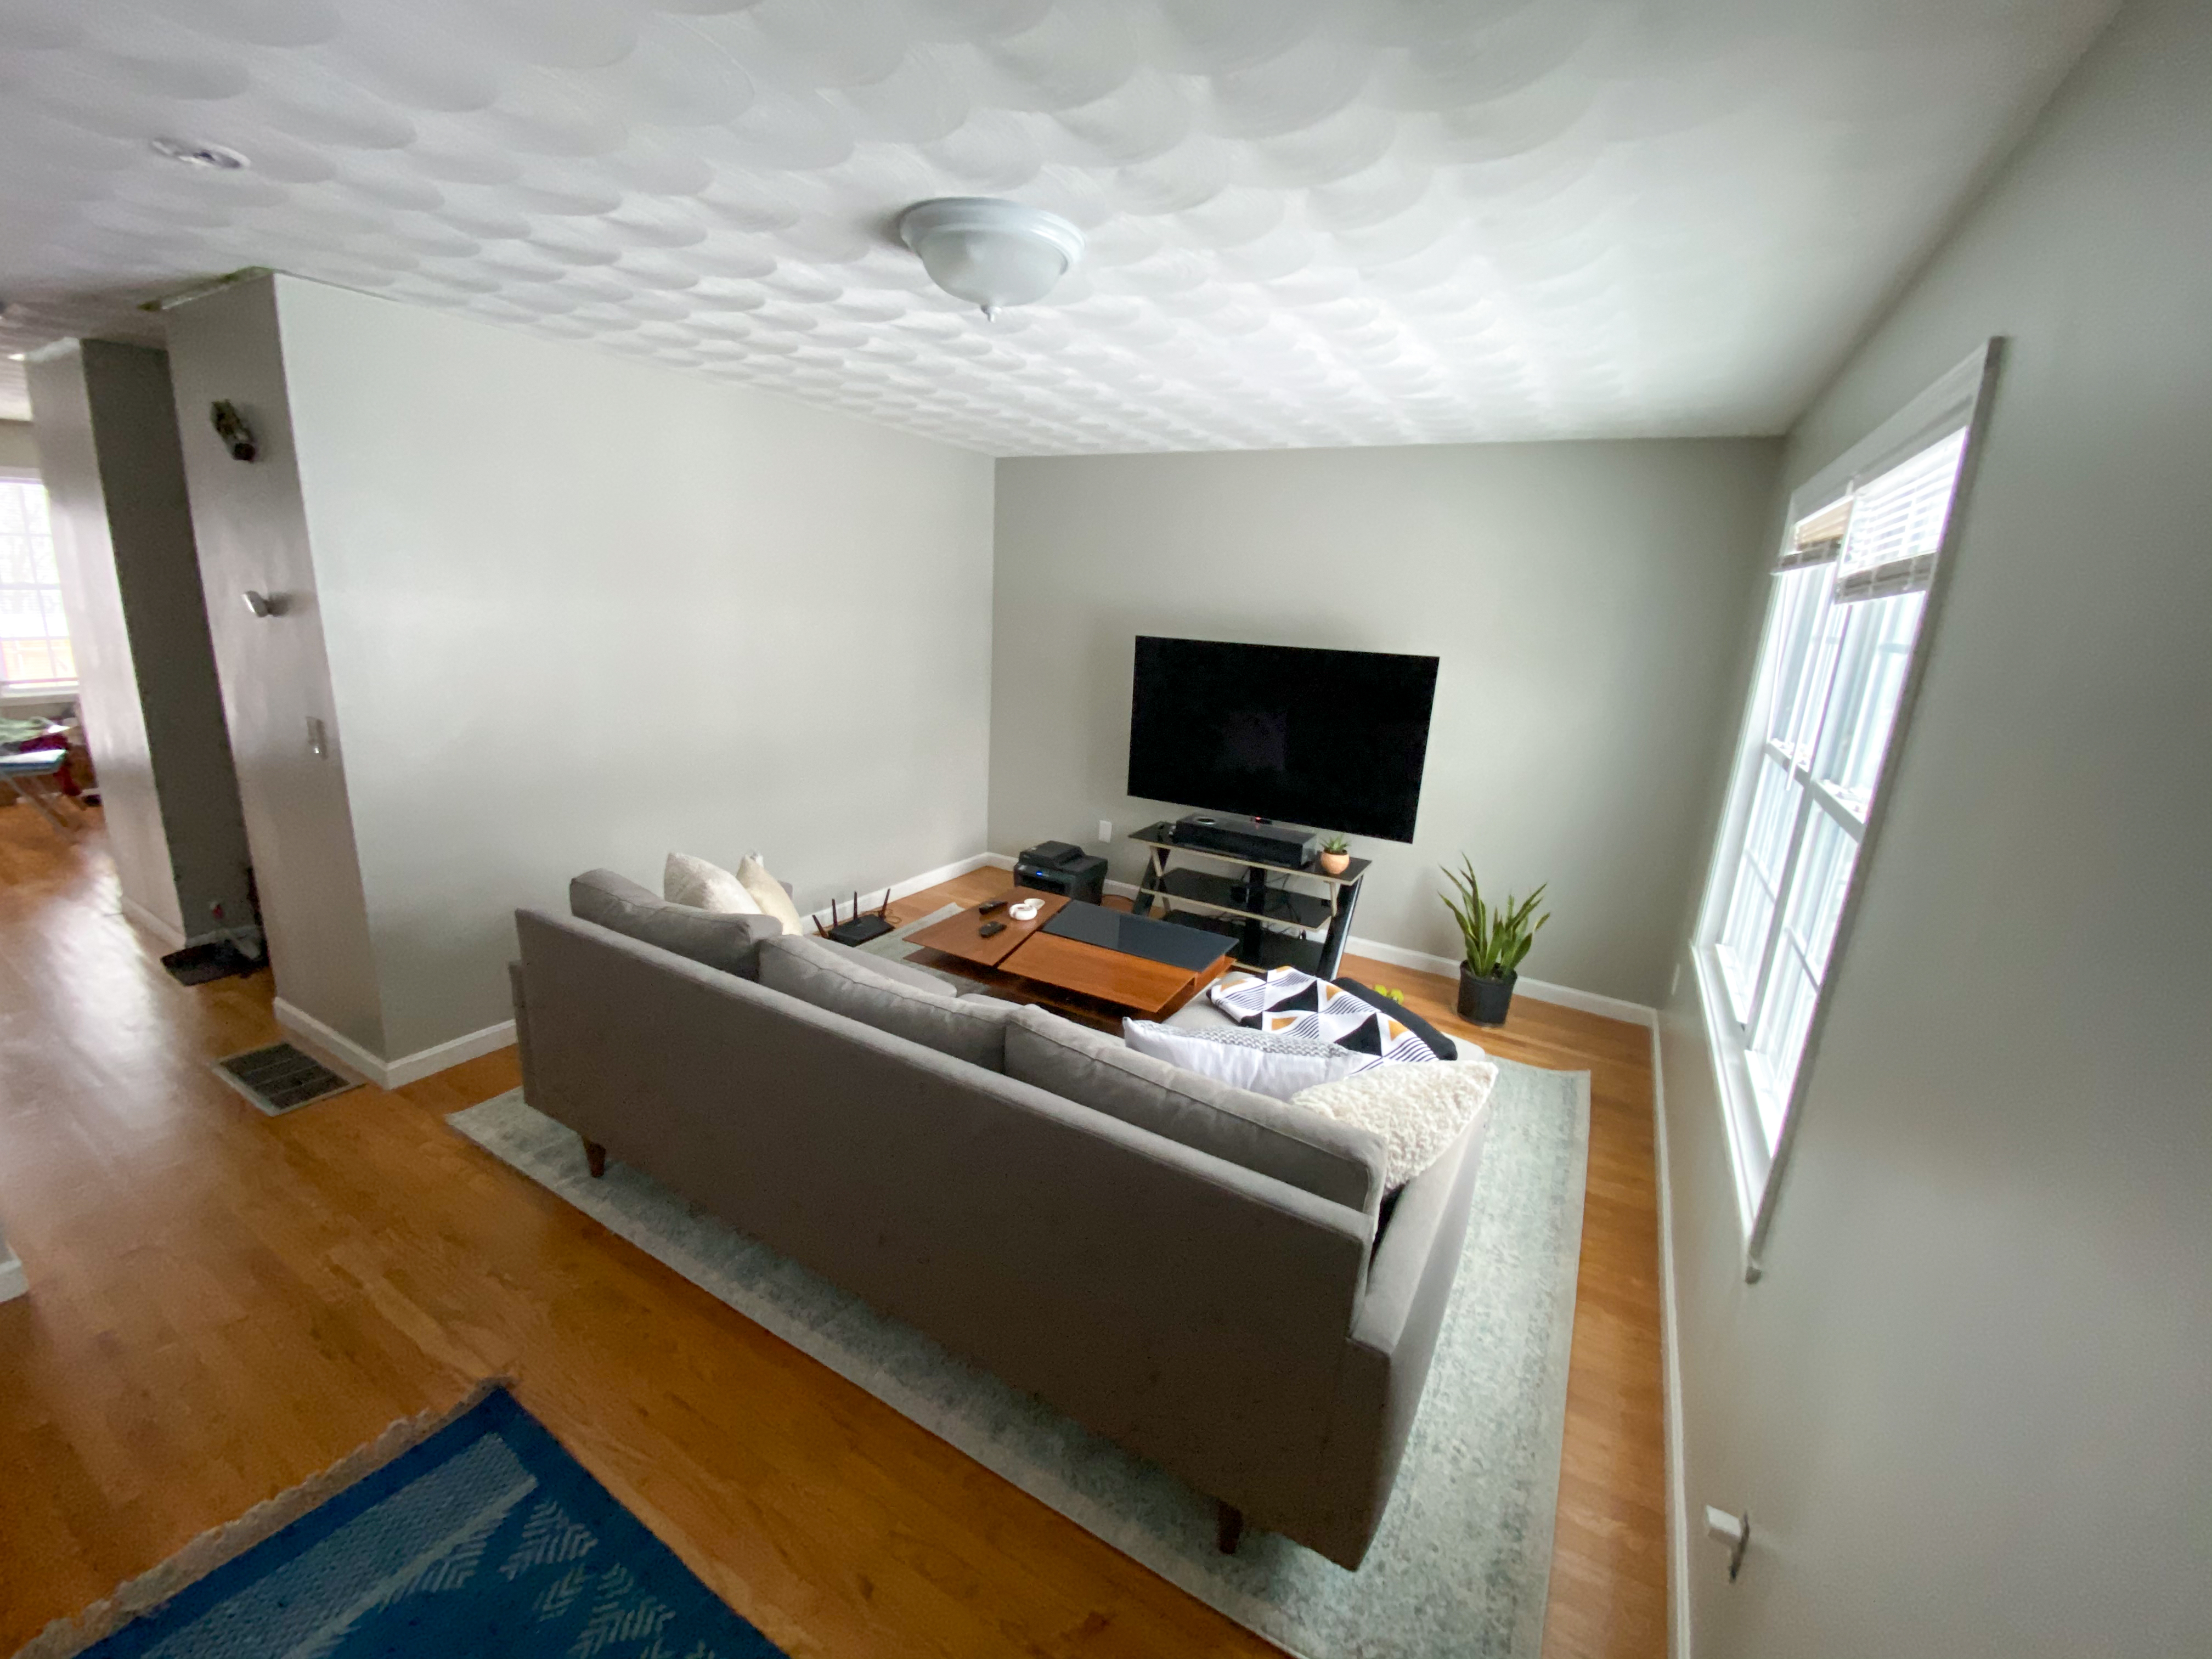
This is what we have so far. I took this on a very snowy day, so forgive the darker photo. G’s pride and joy TV takes up the majority of a wall, hence a more unconventional layout. The rug was our VERY first purchase for the first house, which I’m still over the moon about.
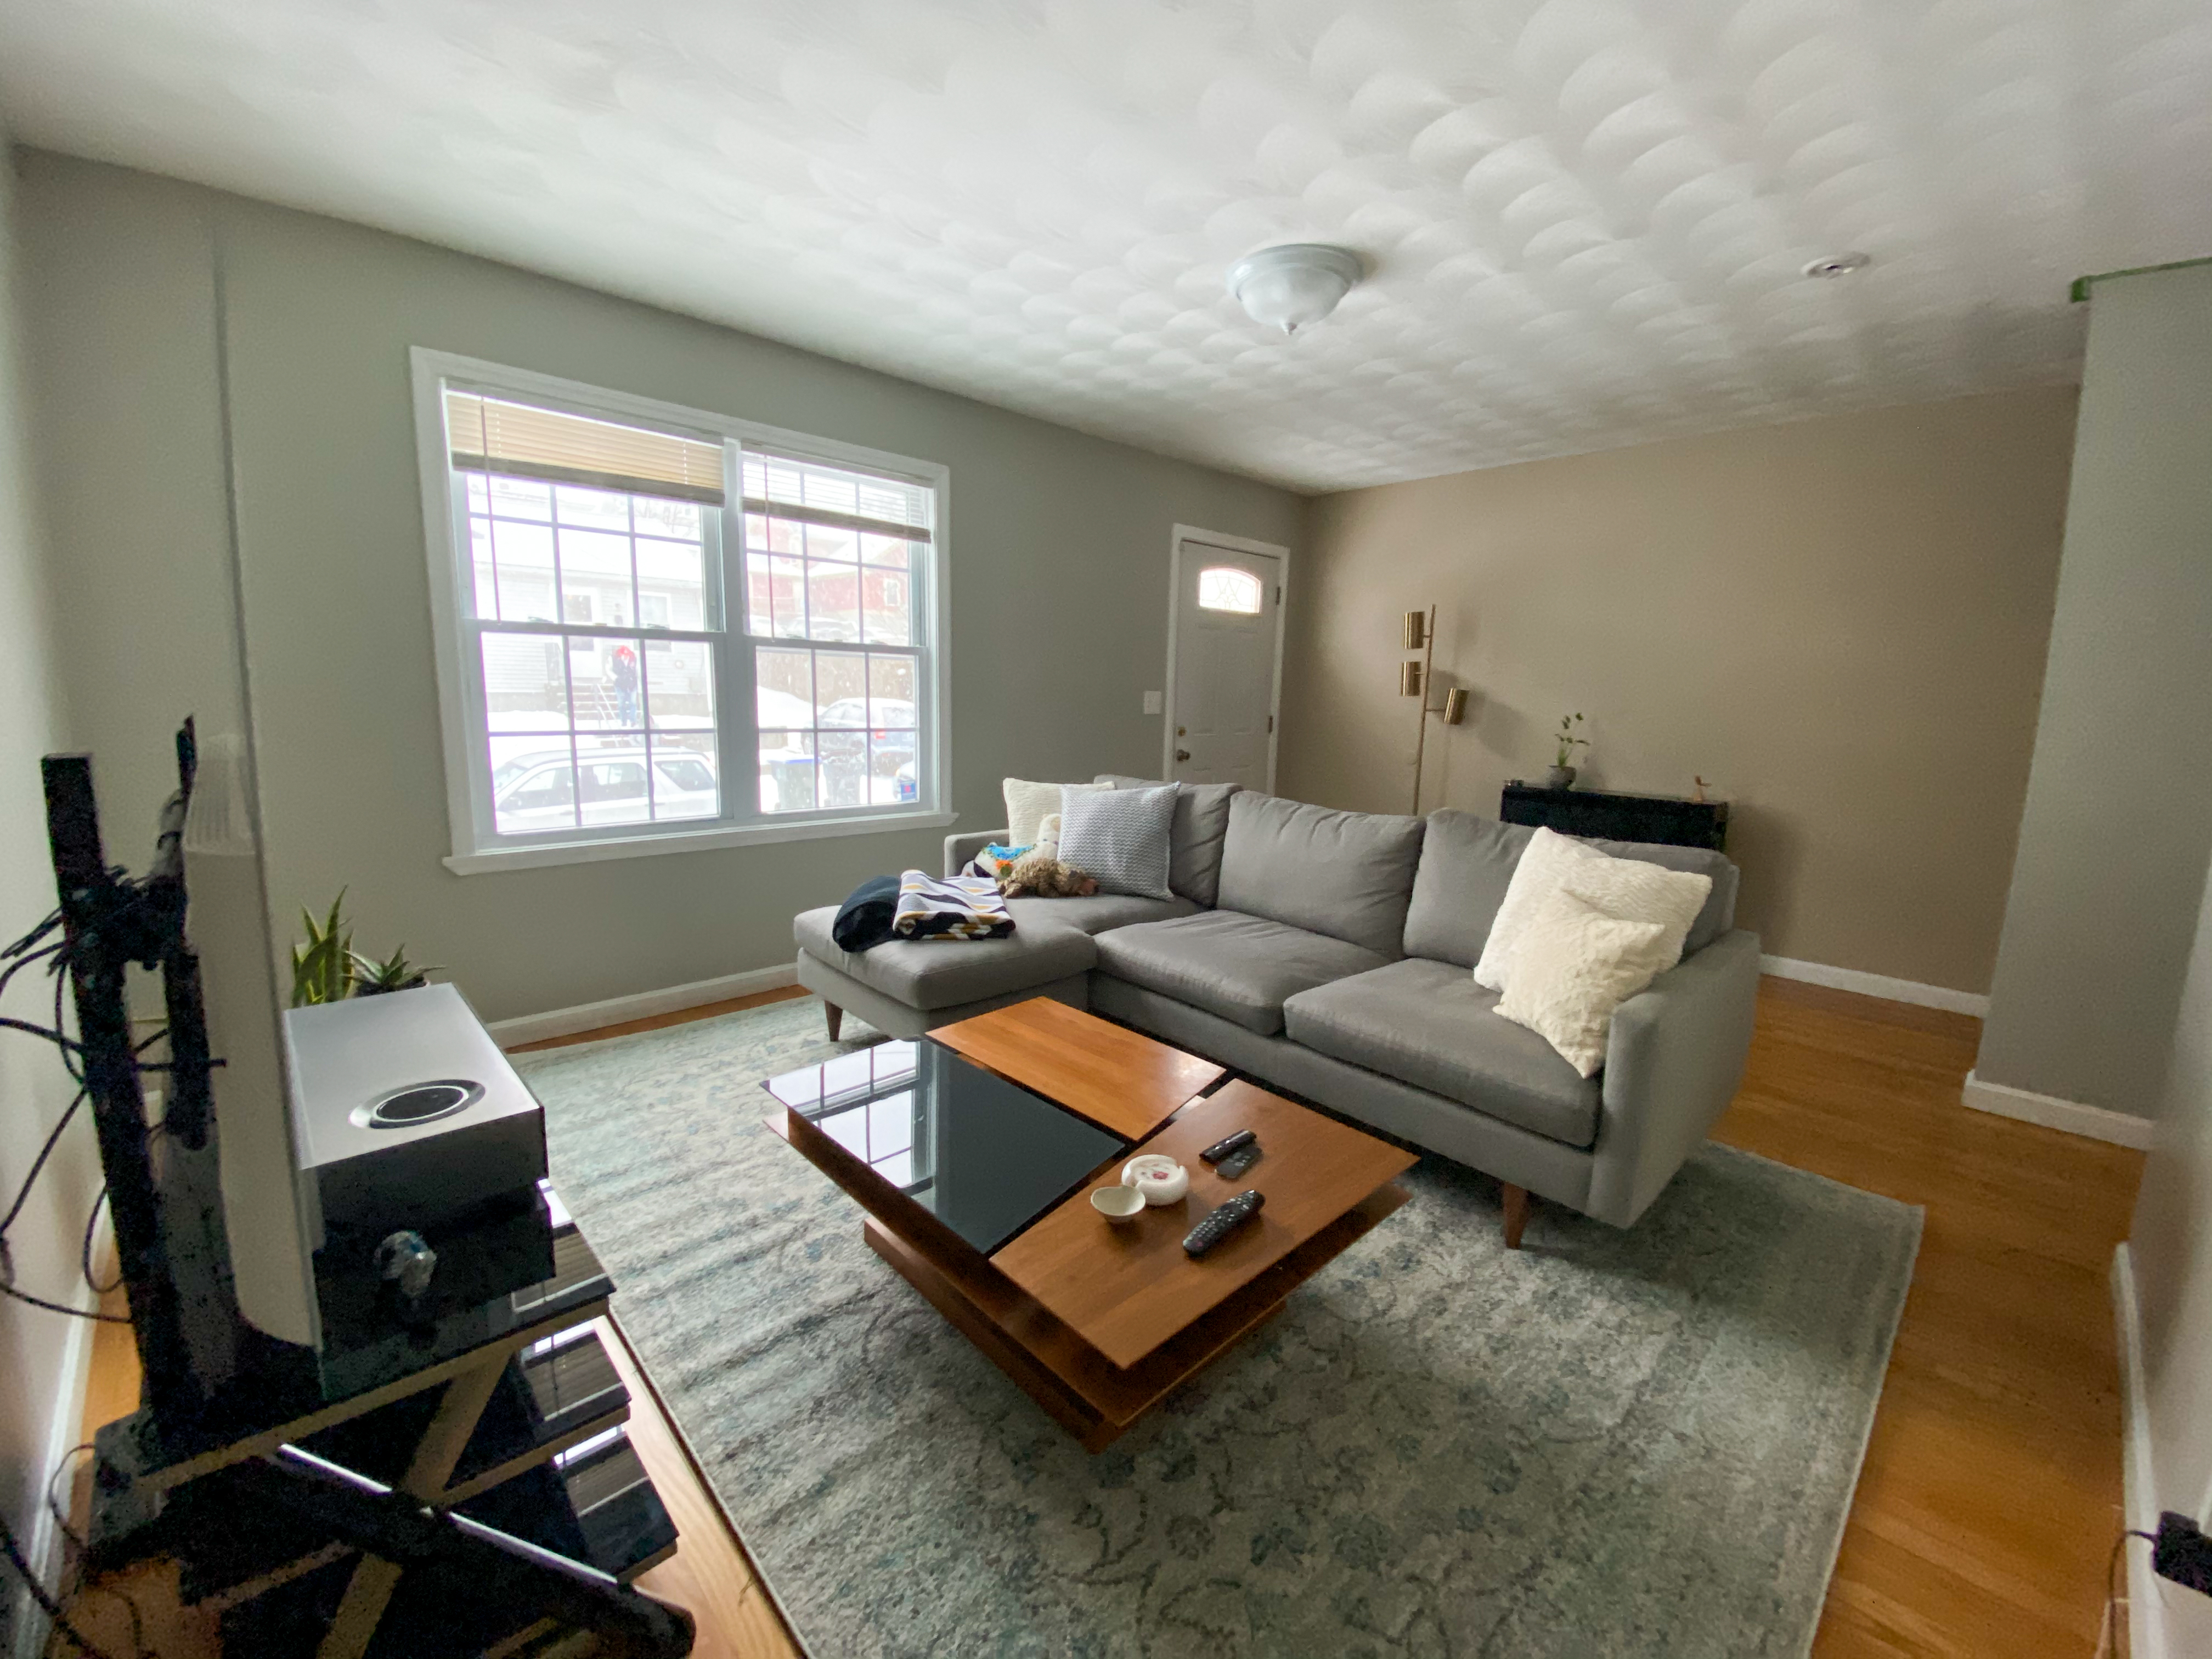
We started to decorate the living room, since it’s our favorite place to relax after work. There is still a ways to go. Eventually we’ll want to add bookshelves and change the lighting fixture. And our beautiful snake plant will eventually need a vase. But for now, we are so happy with the result. I can’t wait to share some more #beforeandafters as we continue.
Hope you enjoyed this post!
- Aheli

![Best 2 Player Games [Updated]](https://aheliwanders.com/wp-content/uploads/2025/01/Board-Games.png)

Leave a Reply